Let’s start with the obvious: water is vital when hiking. We generally consume a lot, especially in summer, it is also your main fuel. However, water has two big faults: it takes up space and weighs heavily! We can therefore consider taking the necessary volume for a day in his bag but if you are going for a trek without a “civilized” water point you will have to restock yourself.
This article therefore deals with this point: how to manage water well during a trek or a hike?
Water consumption
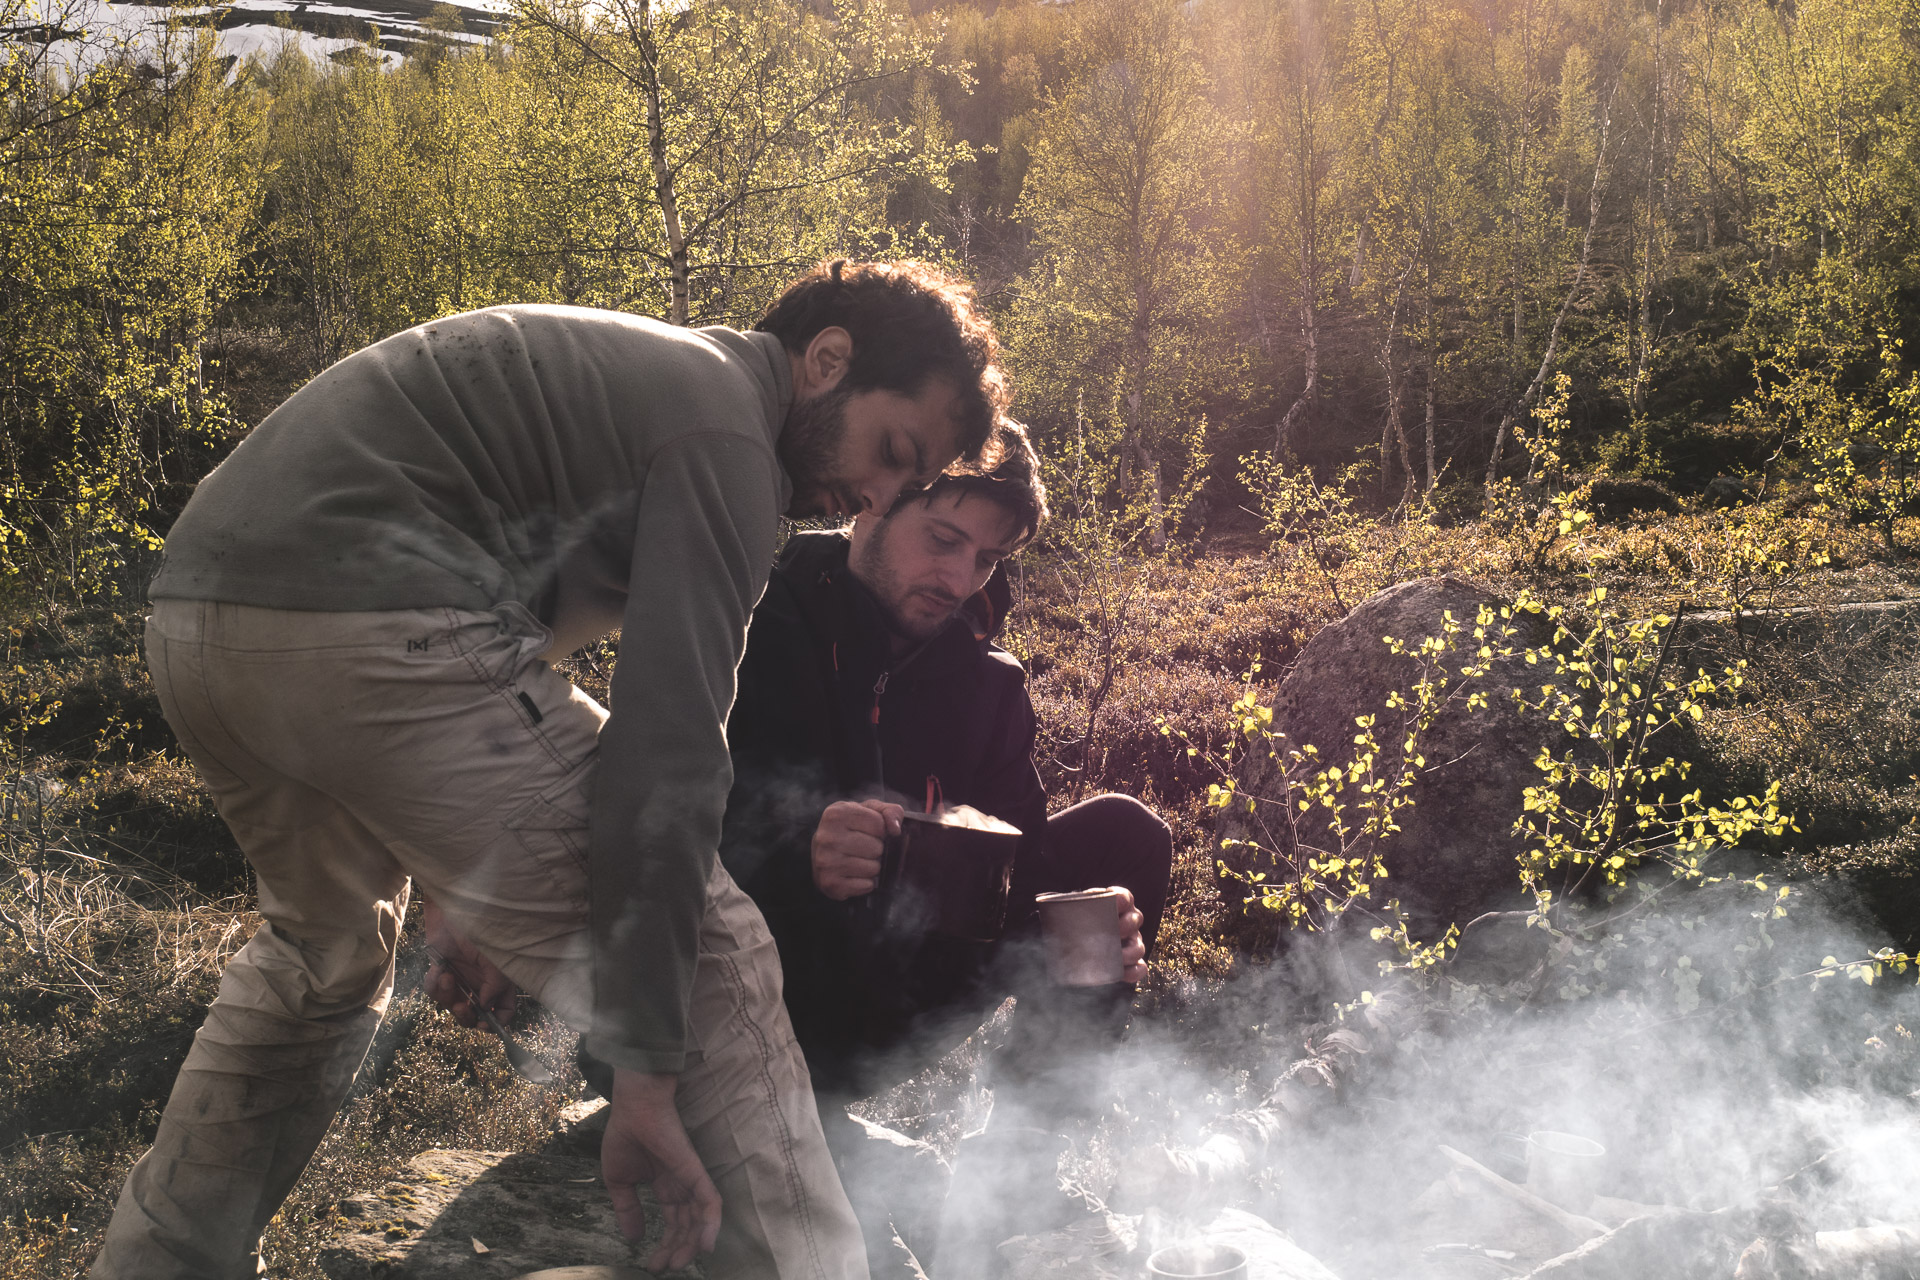
Before starting, I wanted to make a quick preamble on hydration during a hike. Although variable depending on the temperature, the terrain or you, your consumption will be much higher than in normal times. For example when I traveled the GR54, the temperatures were such that, on certain days, I drank up to 7L. So it’s impossible to take everything in my bag.
What is important to keep in mind is that you must not limit yourself (except in cases of force majeure) because in the event of dehydration your body will no longer function properly and you will very quickly tire yourself out potentially losing consciousness in advanced dehydration. Exit also all that will be soda or drink of this type, it is not suitable for the practice of hiking. There are substitutes that allow a rapid supply of carbohydrates and minerals like ISOSTAR for example but, personally, I am not a fan of these solutions …
Don’t wait until you’re thirsty to drink. Hydrate gradually as small regular “portions”. If you are hiking as a family, watch out for children who will get dehydrated faster.
We can last 3 weeks without eating but only 3 days without drinking! In case of a big problem, water must be a priority: save there or look for a supply point. Even in the event of a very large problem NEVER DRINK seawater as this will block the kidneys. Also avoid untreated standing water if you don’t want to get dysentery. Consumption of unmelted snow is also prohibited, it could cause “burning” in the mouth and diarrhea – if you have the choice melt the snow in a bottle under your clothes but not in direct contact with your skin.
Water stock
Several cases arise for you in terms of supplies and the quantity to take:
- Abundant sources of drinking water : in the case of a hike during which you will pass by many supply points (villages, refuges, fountains, …) you can limit the amount of water to take in the bag. A 1.5L bottle may suffice.
- Abundant sources of non-potable water : in the case of a long trek, you may not pass a lot of villages, but there are good chances of crossing rivers, lakes or even springs. However, this water is to be considered doubtful. It is then necessary to have a “clean” water stock (1.5L for example) and another stock being cleaned. So with 2 bottles you can rotate between clean water and water during cleaning.
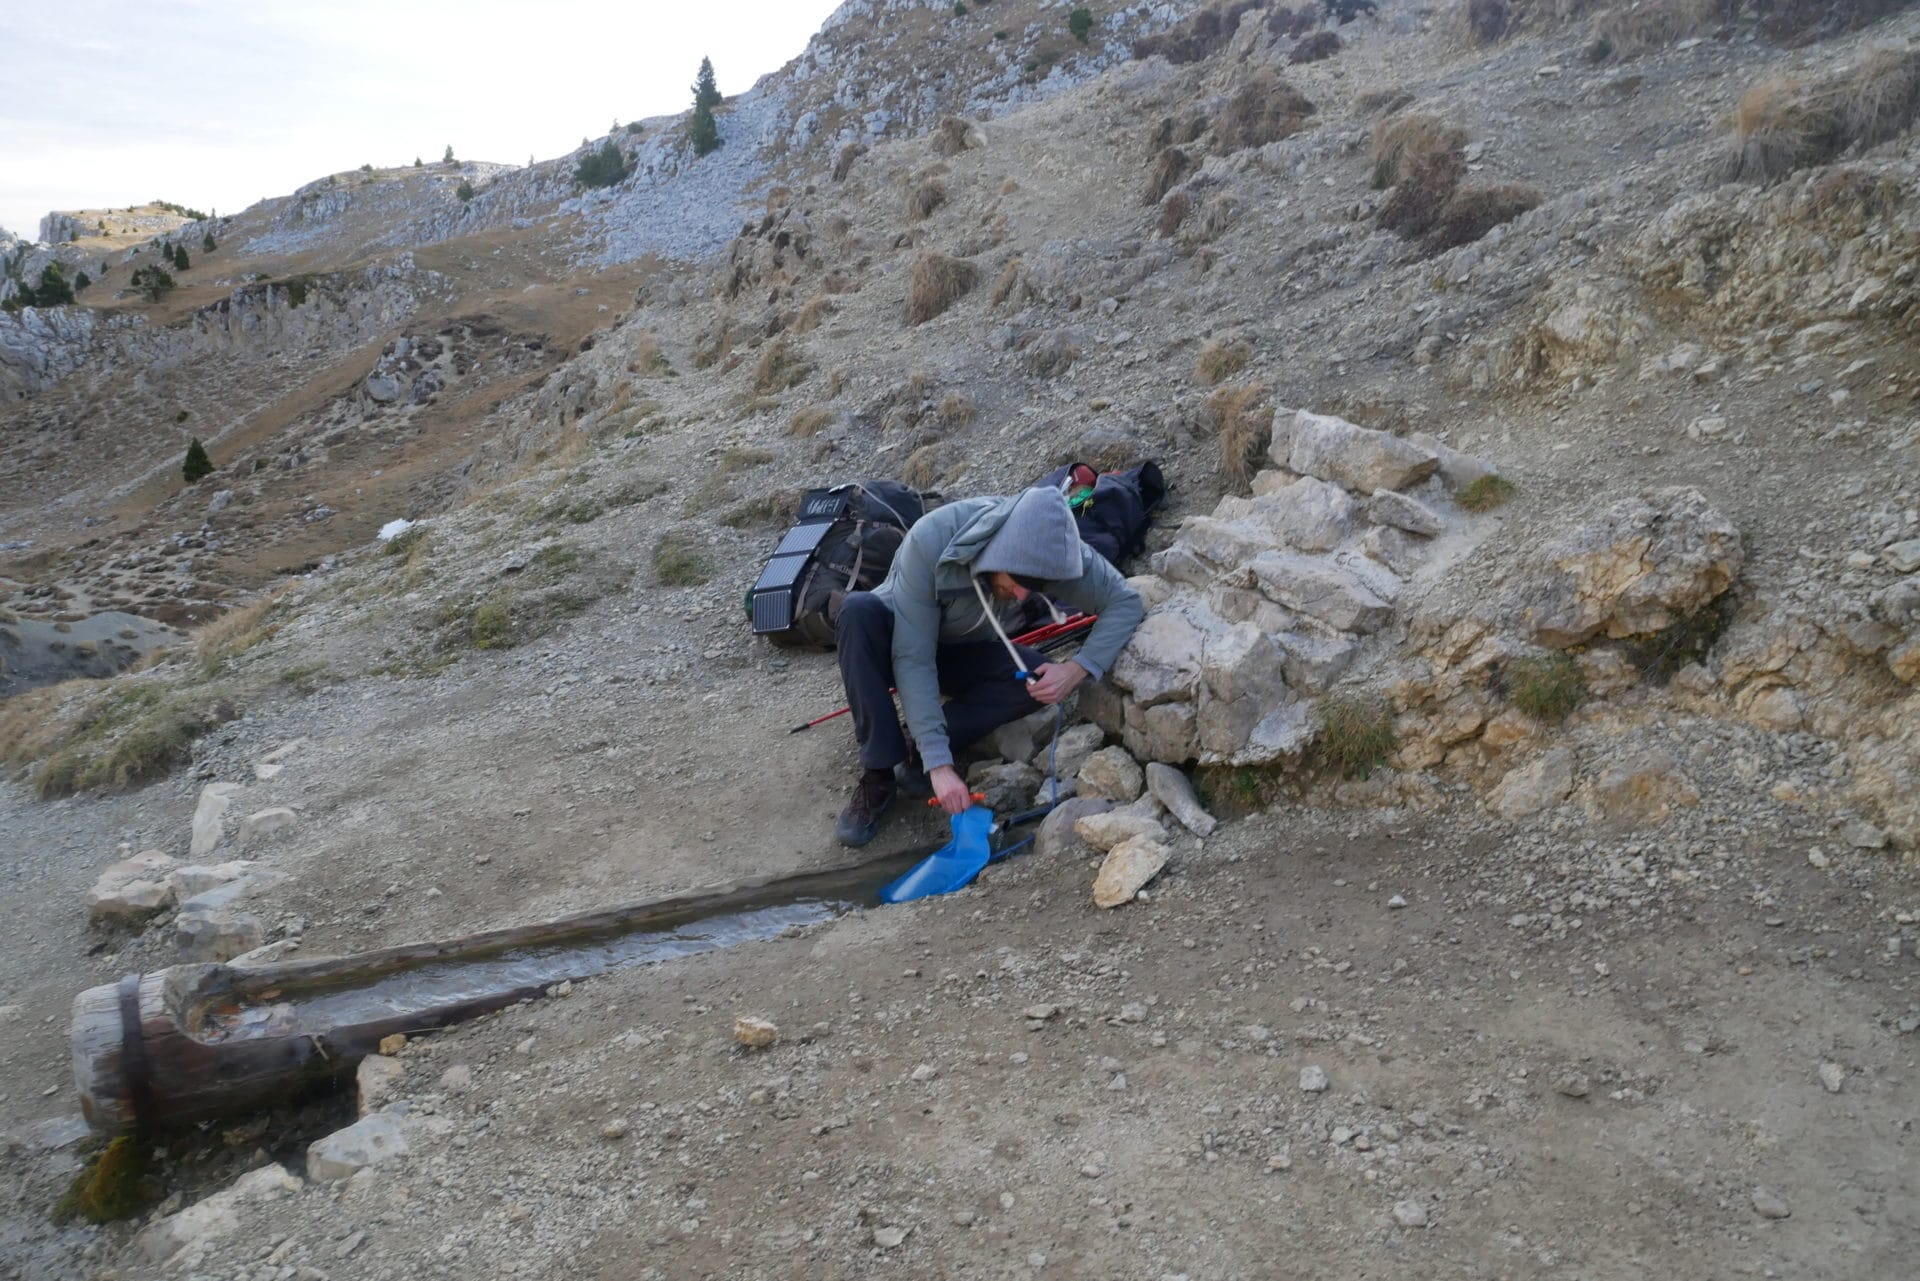
- Few sources : some areas, even in France, are poor in water sources. Take as an example the Vercors in which there are only a few sources that do not always have a high flow. It is therefore necessary to plan your water management well and take more than usual. During my Crossing of the Vercors, we each had 4L of water permanently with us and this in order to be able to meet our water needs in the evening at the bivouac. It’s heavy but we had no choice. Again, proper preparation will help you avoid running out of water too quickly
As for the container there are today a multitude of solutions. I will discuss the main ones here. The advice I give is completely personal and I think there is no quick fix, it’s up to you to define what suits you best:
- The metallic gourd : the good old metallic gourd. Relatively solid, it has the defect of being fairly heavy. Some give a taste to water but this is less true for recent gourds. Attention in very cold environment the metal being a good conductor of heat, the water will freeze there faster and you risk sticking your fingers on it.
- The plastic bottle : “Nalgene” bottles are popular at the moment. Their wide neck is practical, plastic is not supposed to give taste to water. However, I find these gourds a little heavy and cumbersome when they are empty.
- The water bag : these plastic food bags are practical: light and easily foldable once empty, they slip into the bag during the day and allow you to drink thanks to a tube that is always close at hand. It is very effective for hydrating continuously. I see two faults with this solution: we do not follow what is left in stock and these pockets have a tendency to give a taste to water. Favor “good brands” to avoid this last point. In addition, prefer a pocket with a large opening for filling that will make your life easier.
- The plastic water bottle : this is my favorite solution. The good old water bottle is solid, light, it does not taste water and is easily foldable and very economical. Only qualities! I usually take them from 1L so I know exactly what is left and the water treatment is easier (see below). If you don’t want to spend money on any of the above solutions, the bottle will be perfect.
- Bonus: during a bivouac you may need “large” amounts of water. There are kinds of collapsible fools or large water bags to create a good stock. It can be practical. However, the most comfortable is to bivouac not far from a water source.
Replenishment and sanitation
The bottles are empty, it’s time to fill up. But it is a matter of being careful, indeed our bodies are used to perfectly clean water, so we are particularly fragile at this level. It is therefore a matter of choosing your water well and treating it if necessary.
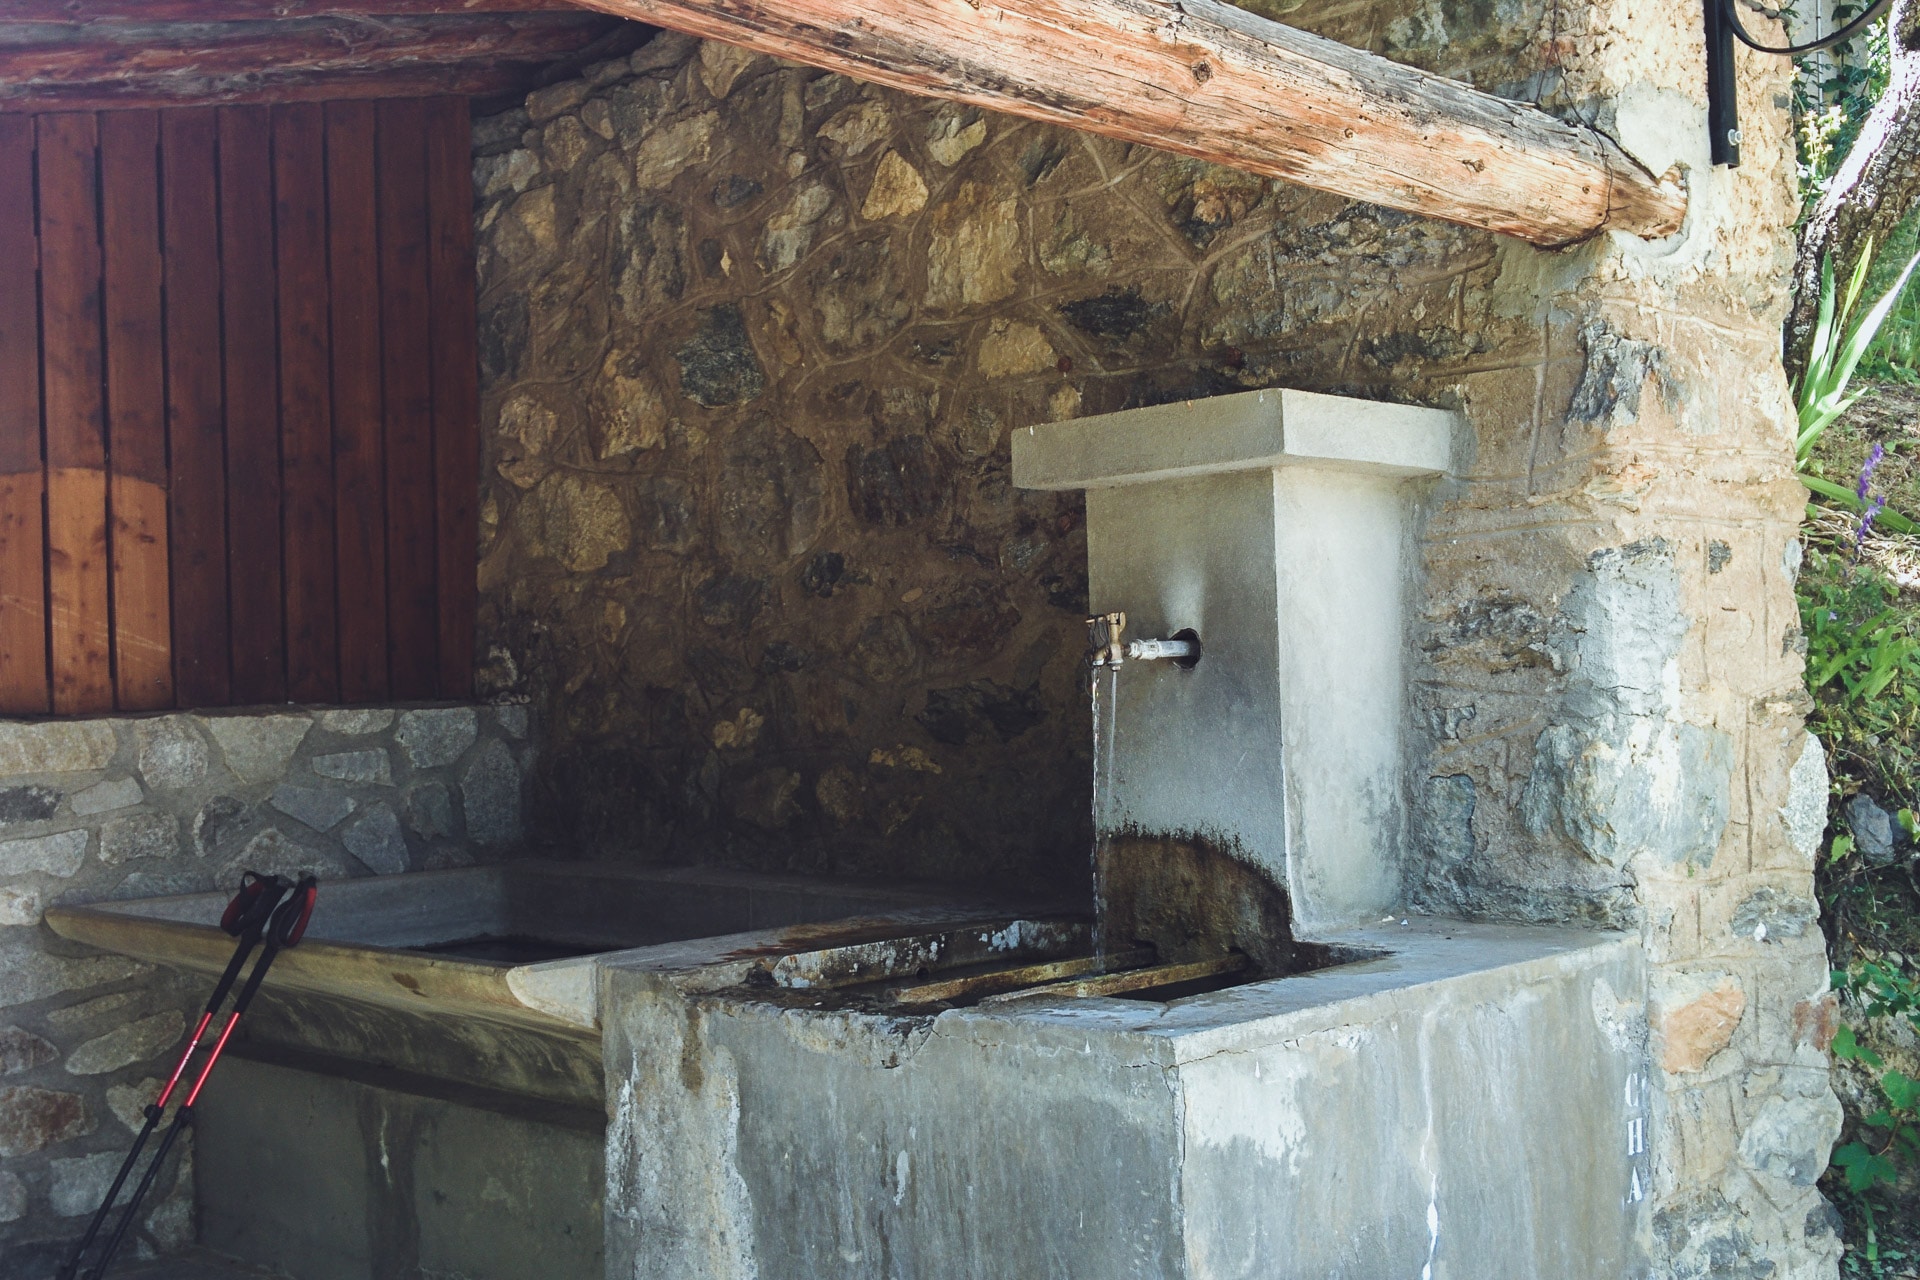
In all cases and if possible, favor sources of drinking water. In the mountains you come across refuges, villages or small fountains. Abroad tap water is not always drinkable for us, in case of doubt, assume that it will be necessary to treat the water or buy bottled water.
In the middle of the wilderness, there are many sources of water: rivers, torrents, lakes, springs, … Here are some tips for choosing the right water:
- Always take clear water: the suspensions carry pathogens or pollutants
- Draw non-stagnant water: the more flow, the better. This prevents bacteria from growing and the water is well brewed.
- Do not draw water downstream of a village or a human settlement or a concentration of livestock: these waters are generally soiled because there is a quantity of organic waste or not.
- Quickly check that there are no dead animals upstream: a dead animal in the river will get dirty and can be dangerous.
With these few rules you should get good quality basic water. But we cannot take the risk of having gastric problems or catching a parasite while hiking, we will treat the water. There are several techniques for this:
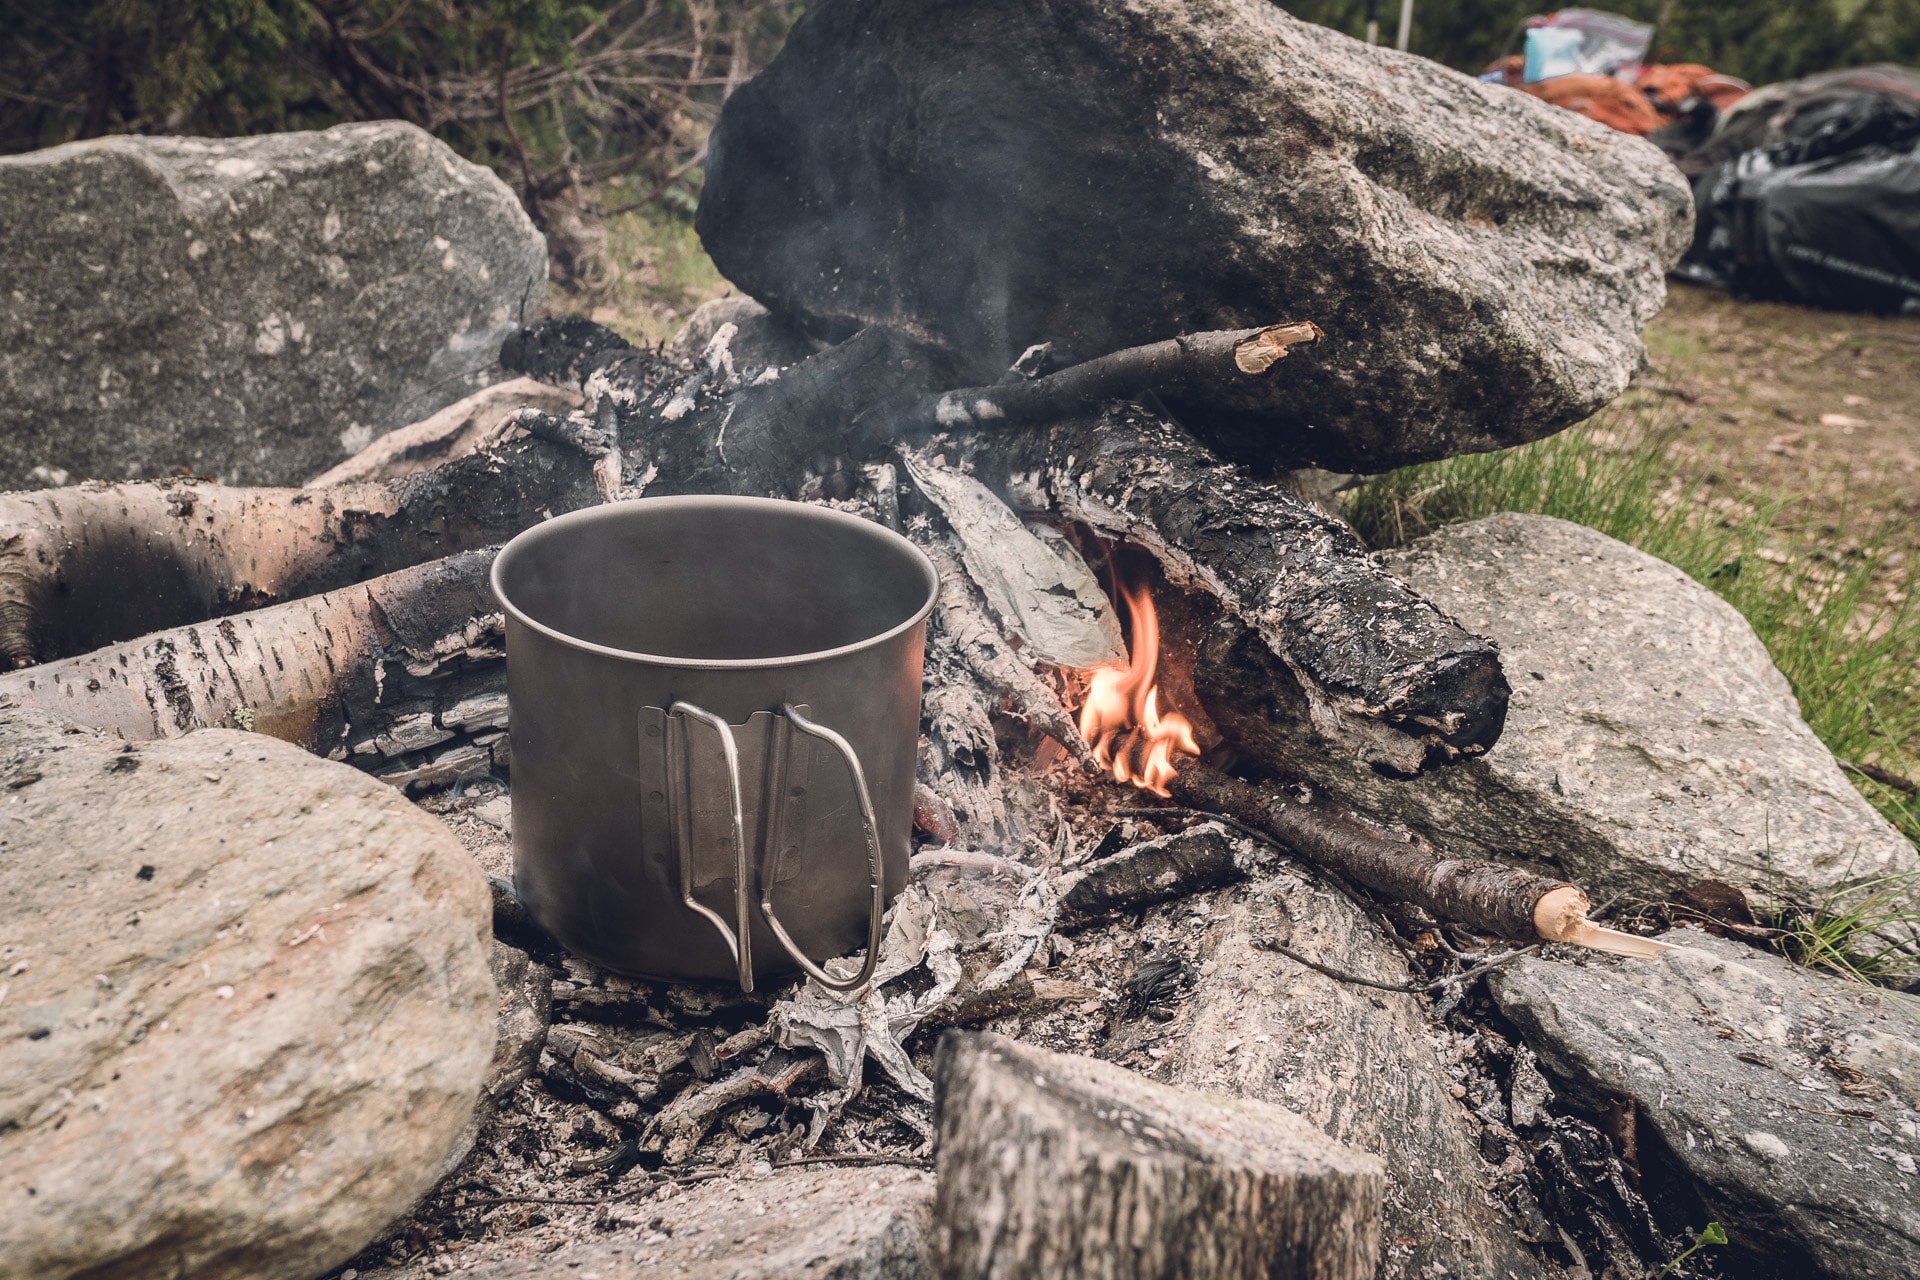
- Boiling: this is the simplest and oldest technique for sanitizing water. Boil for at least 5 min. However, this technique has several shortcomings: it takes a little time, you need equipment (meals, stove, …) and it consumes fuel. For my part I use this technique at the bivouac for cooking water.
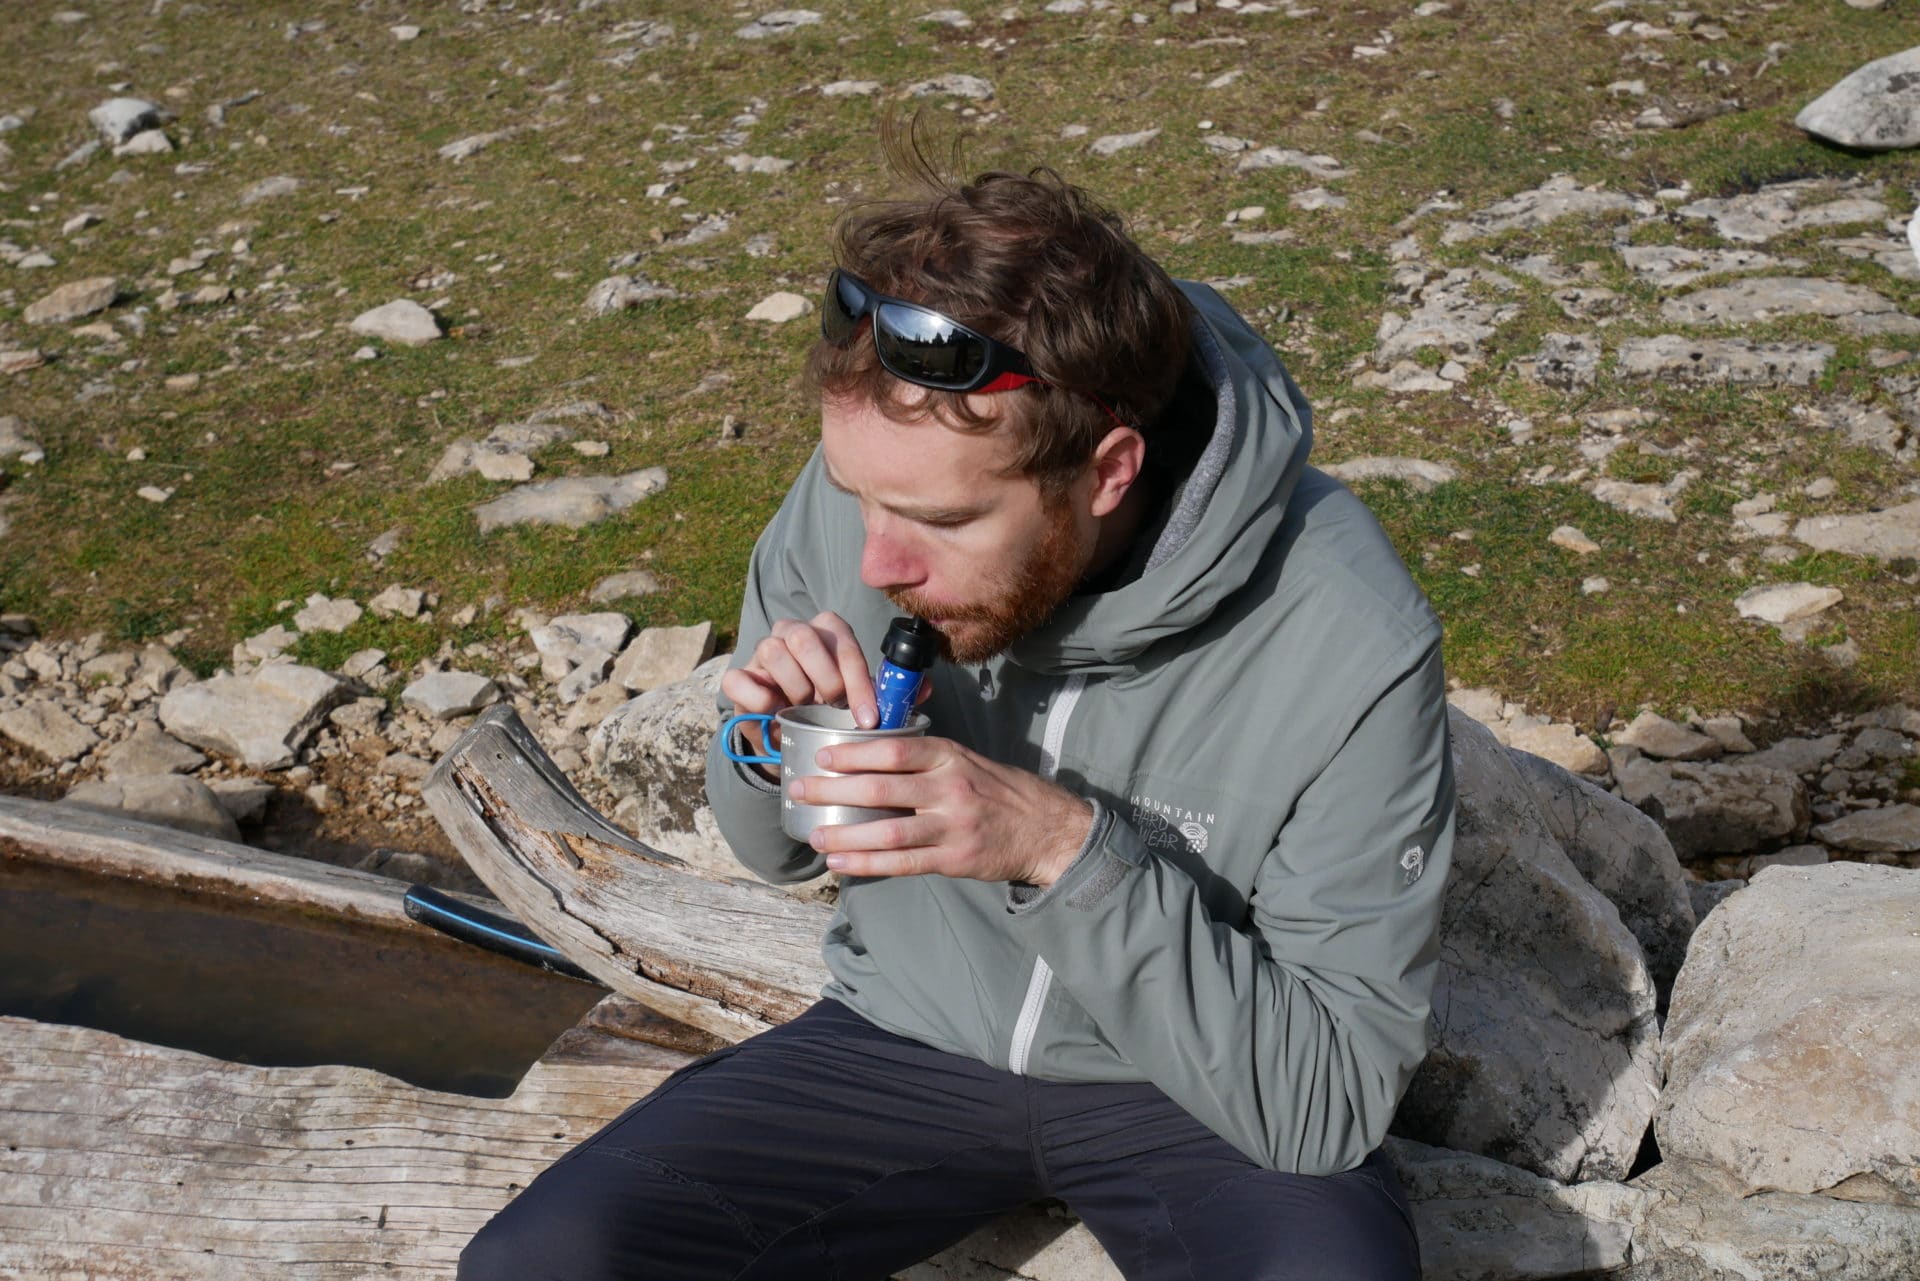
- Chemical treatment: There are many chemical treatment solutions for hiking water today. The best known is Micropur tablets. There are different types but generally they are tablets based on chlorine (or derivatives) or silver that will kill bacteria and amoebas and help keep the water clean over time. The action on viruses is longer and less effective. It is a safe and effective solution if the base water is clear and the product has plenty of time to act (1 to 2 hours). It is my preferred solution during long treks. I always have a bottle of water being treated and an already clean one. Apart from the necessary duration of treatment, the other defect is that it can give a little chlorinated taste to the water but it was never annoying for my part (especially with cold water).
- Filters: there are many filters or water treatment straws on the market. These solutions are effective against bacteria and amoebas but less against viruses that are too small to be filtered. The filters are generally based on activated carbon cartridges (with a limited lifespan) or on fiberglass meshes for example. These items are very convenient for drinking clean water immediately. They can even be adapted to the water bags or the necks of certain bottles. It is generally more expensive than lozenges but more water can be treated over time.
In Sweden during our trek along the Kungsleden, a guard told us that the water was generally drinkable everywhere as soon as there was a strong flow or that there was more than 1m deep. The Sami do not take bottles with them and drink directly from the river with a small cup. I think it can be applied to all the really remote regions, where man imposes his footprint less.
Winter polar expeditions pose other problems. In this environment water is present absolutely everywhere but in the form of snow. It must therefore be melted before consumption. This requires a lot of fuel, so we must provide this additional consumption in our supply (count 15-20g of fuel to heat 1L of water). Once this water has melted, continue to heat it and store it in thermos otherwise it will freeze and you will have no water during the day.

Conclusions
These few tips will allow you to better manage your water and above all to treat it well. Once these techniques are acquired, we can easily apply them which gives us a great autonomy in trekking because we can find our water anywhere and thus always go further, always longer.
